Tel: (804) 642-9296
Email: tadinc@earthlink.net
Tel: (804) 642-9296
Email: tadinc@earthlink.net

With more and more electronics being used on boats, the demand for more 12v DC amperage is increasing. If you are using a high output alternator on a Perkins 4.107, 4.108 or Westerbeke 40 with a standard belt, you already know the problem.
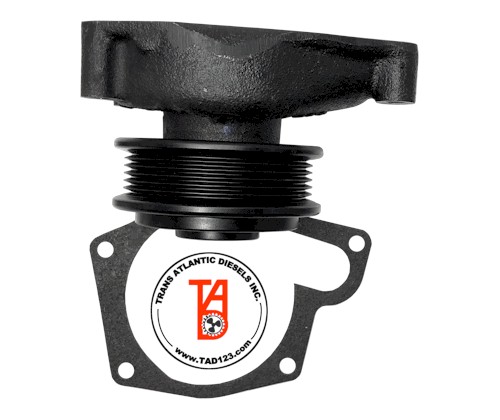
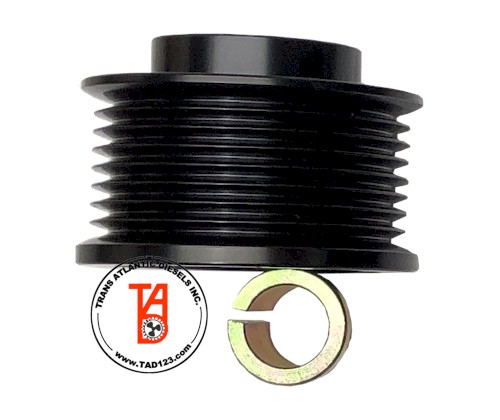
Trans Atlantic Diesels Inc. can supply an easy to fit serpentine pulley kit K6 (6 groove) for the Perkins 4.107, 4.108 and Westerbeke 40. With this kit you can achieve in excess of 150 amps 12 volts DC without the belt slipping (providing your alternator has the capacity).
Anyone who has tried to extract much more than 65 amps out of the original pulley and belt configuration, will know that black belt dust and squealing from the slippage are all too familiar. Over tightening the belt is not the answer as you will find out in the next paragraph.
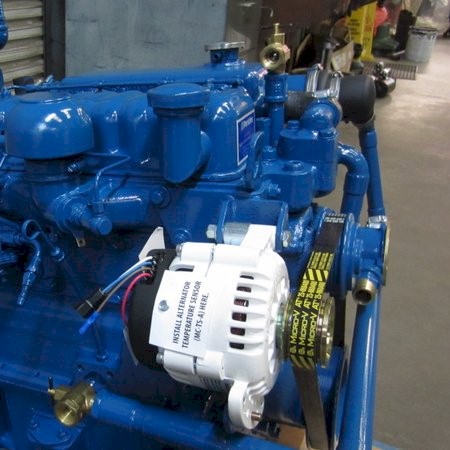
Perkins 4.108 with Bowman manifold and Balmar with 2” mounting foot.
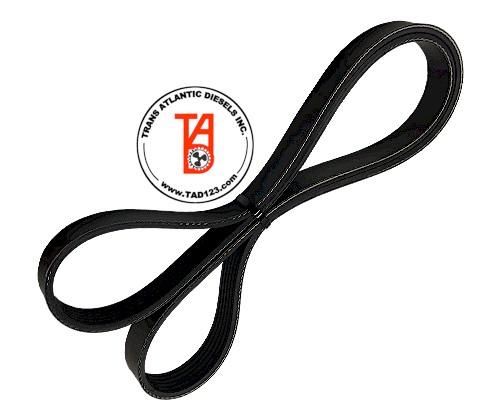
Don't Overtighten: An overtightened belt, operated over a period of time, can cause metal fatigue on the front section of the crankshaft. This can result in failure, breaking the crankshaft at the #1 journal. This generally occurs when owners have over tightened their belt in an attempt to stop or reduce slippage. The serpentine belt will not slip using the same recommended tension as used on the “V” belt as shown in the Installation PDF file that you can view or download below.
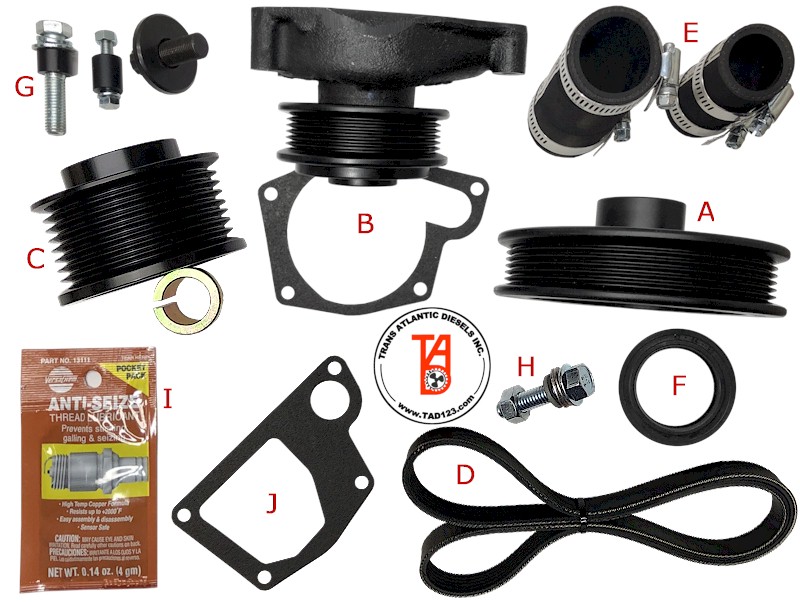
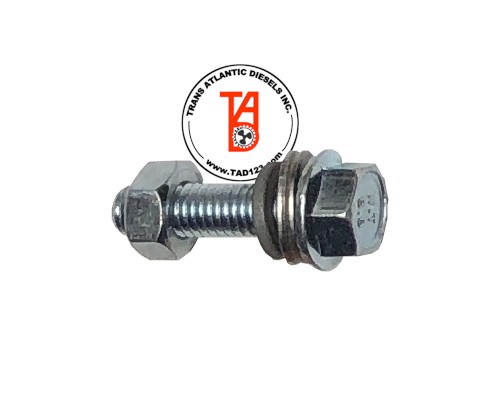
Note: Westerbeke 40 requires bolt and spacer kit for Standard Balmar with 2” mounting foot: 1x crankshaft bolt 32162316, 1x crankshaft washer 33124119 - as shown above.
To ensure our Serpentine Pulley Kit will work with your Perkins 4.108, 4.107 or Westerbeke 40 engine, please see the info below and identify which Header Tank set up your engine currently has.
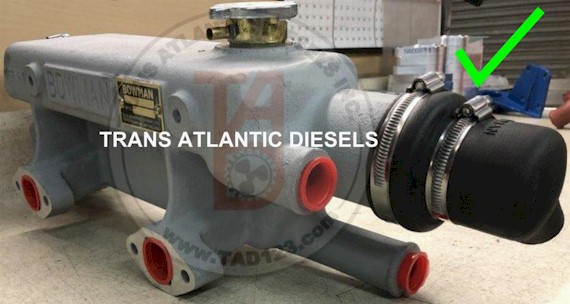
Figure 1 - 4.108 Bowman combined Header tank/heat exchanger/manifold
Shown in figure 1 is the 4.108 Bowman combined header tank, heat exchanger and exhaust manifold. This unit WILL ACCEPT our Serpentine Pulley Kit.
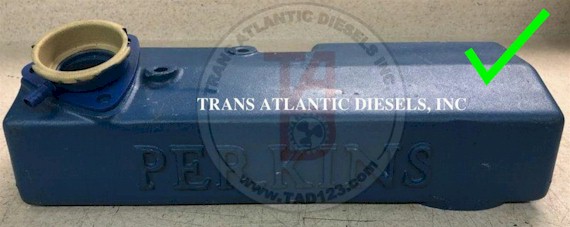
Figure 2 - 4.108 North American Front Tank
Shown in Figure 2 is the North American front tank as fitted to the 4.108. This configuration WILL ACCEPT our Serpentine Pulley Kit.
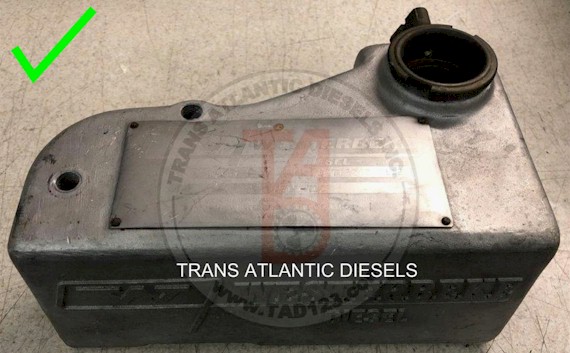
Figure 3 - Westerbeke 40 Front Tank
Shown in Figure 3 is the Westerbeke 40 Front Tank. This configuration WILL ACCEPT our Serpentine Pulley Kit.
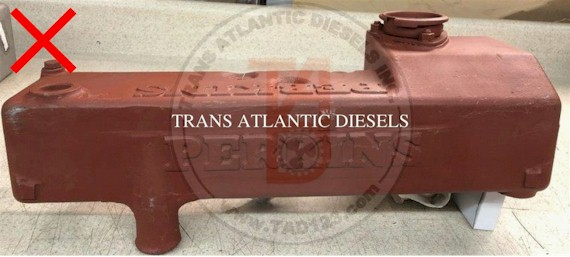
Figure 4 - Shows 4.108 Low Line Tank
Shown in Figure 4 is the 4.108 Low Line tank. This WILL NOT ACCEPT our Serpentine Pulley Kit without modification to the tank. Contact us for details.
![]()
Mailing Address:
Trans Atlantic Diesels, Inc.
P.O. Box 70
White Marsh, VA 23183
Shipping Address:
Trans Atlantic Diesels, Inc.
5906 Fairfield Lane
Hayes, VA 23072
Tel: (804) 642-9296
Email: tadinc@earthlink.net
Quick Links: