Tel: (804) 642-9296
Email: tadinc@earthlink.net
Tel: (804) 642-9296
Email: tadinc@earthlink.net

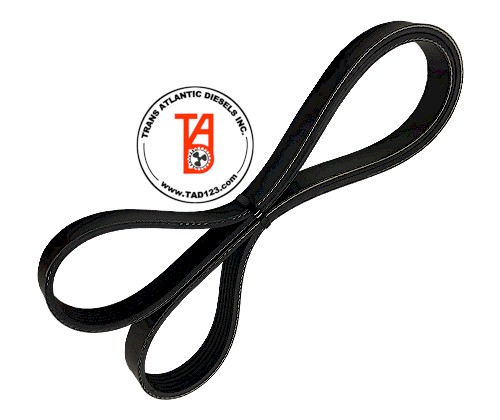
With more and more electronics being used on boats, the demand for more DC amperage is increasing. If you are using a high output alternator on a Perkins 4.236 with a standard belt, you already know the problem. Belt dust due to slippage and the constant worry of re tensioning the belt. The danger being, a slipping belt has a reduced life and could fail leaving the engine without the function of the fresh water circulating pump.
Over tightening the belt is not the answer as you will find out below.
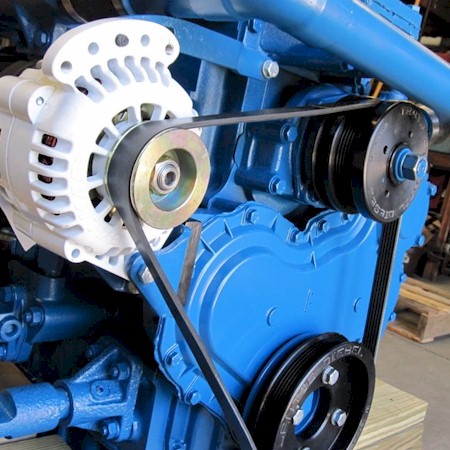
Perkins 4.236
Don't Overtighten: An over tightened belt, operated over a period of time, can cause metal fatigue on the front section of the crankshaft. This can result in failure, breaking the crankshaft at the #1 journal. This generally occurs when owners have over tightened their belt in an attempt to stop or reduce slippage. The serpentine belt will not slip using the same recommended tension as used on the “V” belt as shown in the Installation PDF file that you can view or download below.
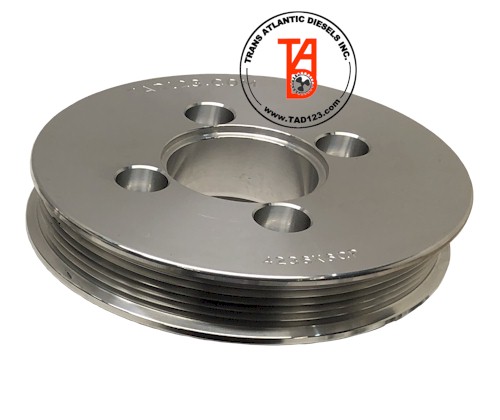
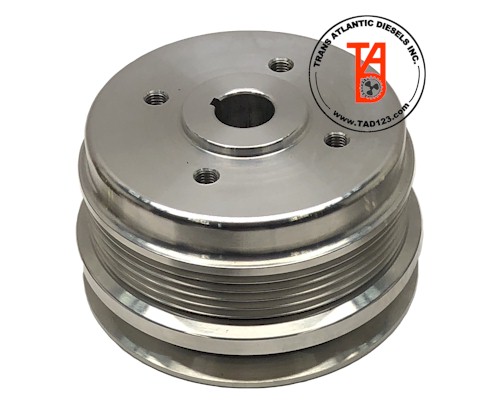
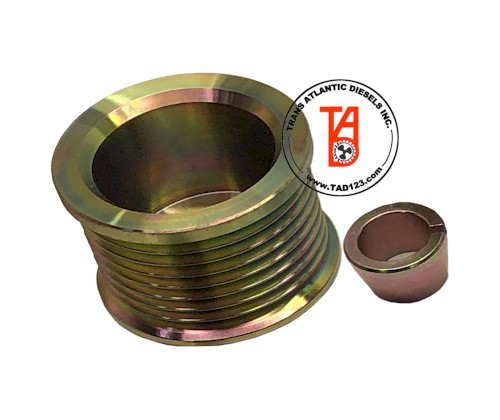
We intentionally supply an 8 groove alternator pulley (Item #3 below) for the 6 groove system to allow for alignment options. Be assured, the belt will not jump track once properly aligned.
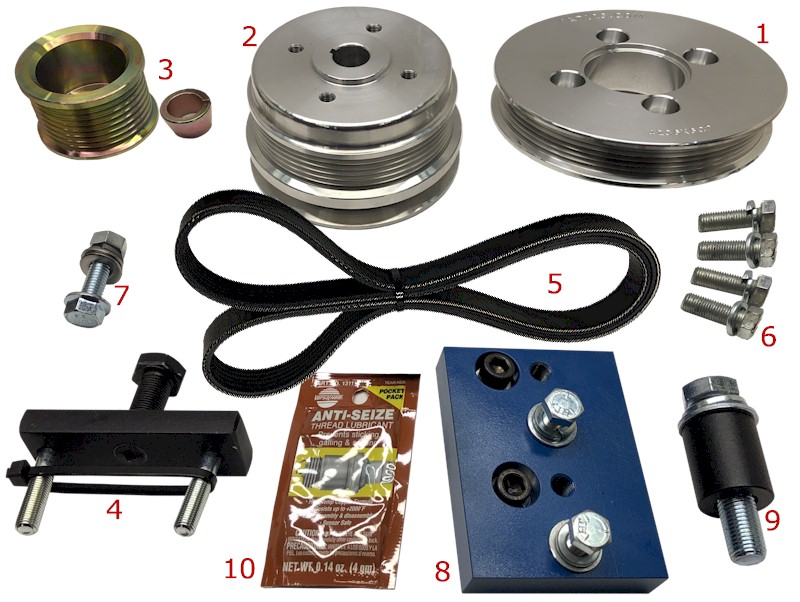
Additional stackable crankshaft “V” belt pulley/s for aux drive. Purchased separately.
Single V-Belt Pulley
V-Belt Pulley - Stacked

We recommend ordering an additional spare belt. Let us know which alternator you have to ensure we supply you with the correct size pulley, as these will vary between manufacturers. We cover the most commonly used sizes.
Please specify which 4.236M variation you have, there were several marinizations of this engine. North American being the most common. European Low line, Bowman Manicooler conversion and Bowman Front Tank. Variations between these models may require alternative alternator bracket and or adjusting arm as shown below. We welcome an overall picture of your engine, to ensure the correct items are supplied. Send to tadinc@earthlink.com if you are unable to send a picture, the images below should help identify your marinization.
To ensure our Serpentine Pulley Kit will work with your Perkins 4.236 engine, please see the info below and identify which Header Tank set up your engine currently has.
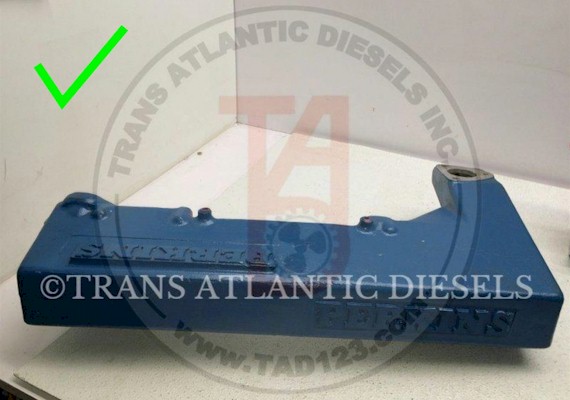
Figure 1 - 4.236 European Low Line Tank
Shown in figure 1 is the 4.236 European Low Line Tank. This tank WILL ACCEPT our Serpentine Pulley Kit.

Figure 2 - 4.236 Bowman Manifold Assembly
Shown in Figure 2 is the Bowman Manifold Assembly. This configuration WILL ACCEPT our Serpentine Pulley Kit.
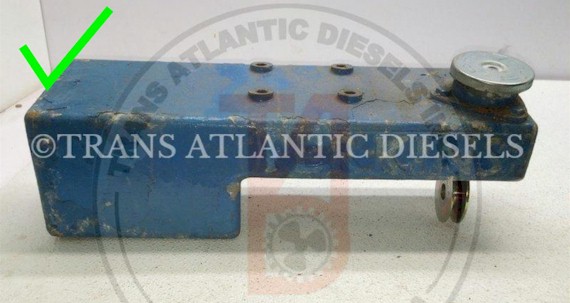
Figure 3 - 4.236 North American Manifold
Shown in Figure 3 is the 4.236 North American Configuration Manifold. This configuration WILL ACCEPT our Serpentine Pulley Kit.
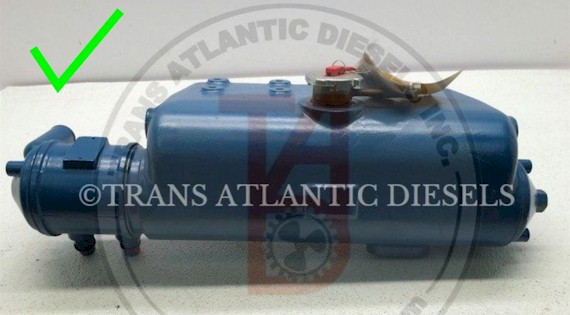
Figure 4 - 4.236 European Bowman Front Mount Tank & Heat Exchanger Configuration
Shown in Figure 4 is the 4.236 European Bowman Front Mount tank and heat exchanger configuration. This configuration WILL ACCEPT our Serpentine Pulley Kit without modification to the tank. Contact us for details.
![]()
Mailing Address:
Trans Atlantic Diesels, Inc.
P.O. Box 70
White Marsh, VA 23183
Shipping Address:
Trans Atlantic Diesels, Inc.
5906 Fairfield Lane
Hayes, VA 23072
Tel: (804) 642-9296
Email: tadinc@earthlink.net
Quick Links: